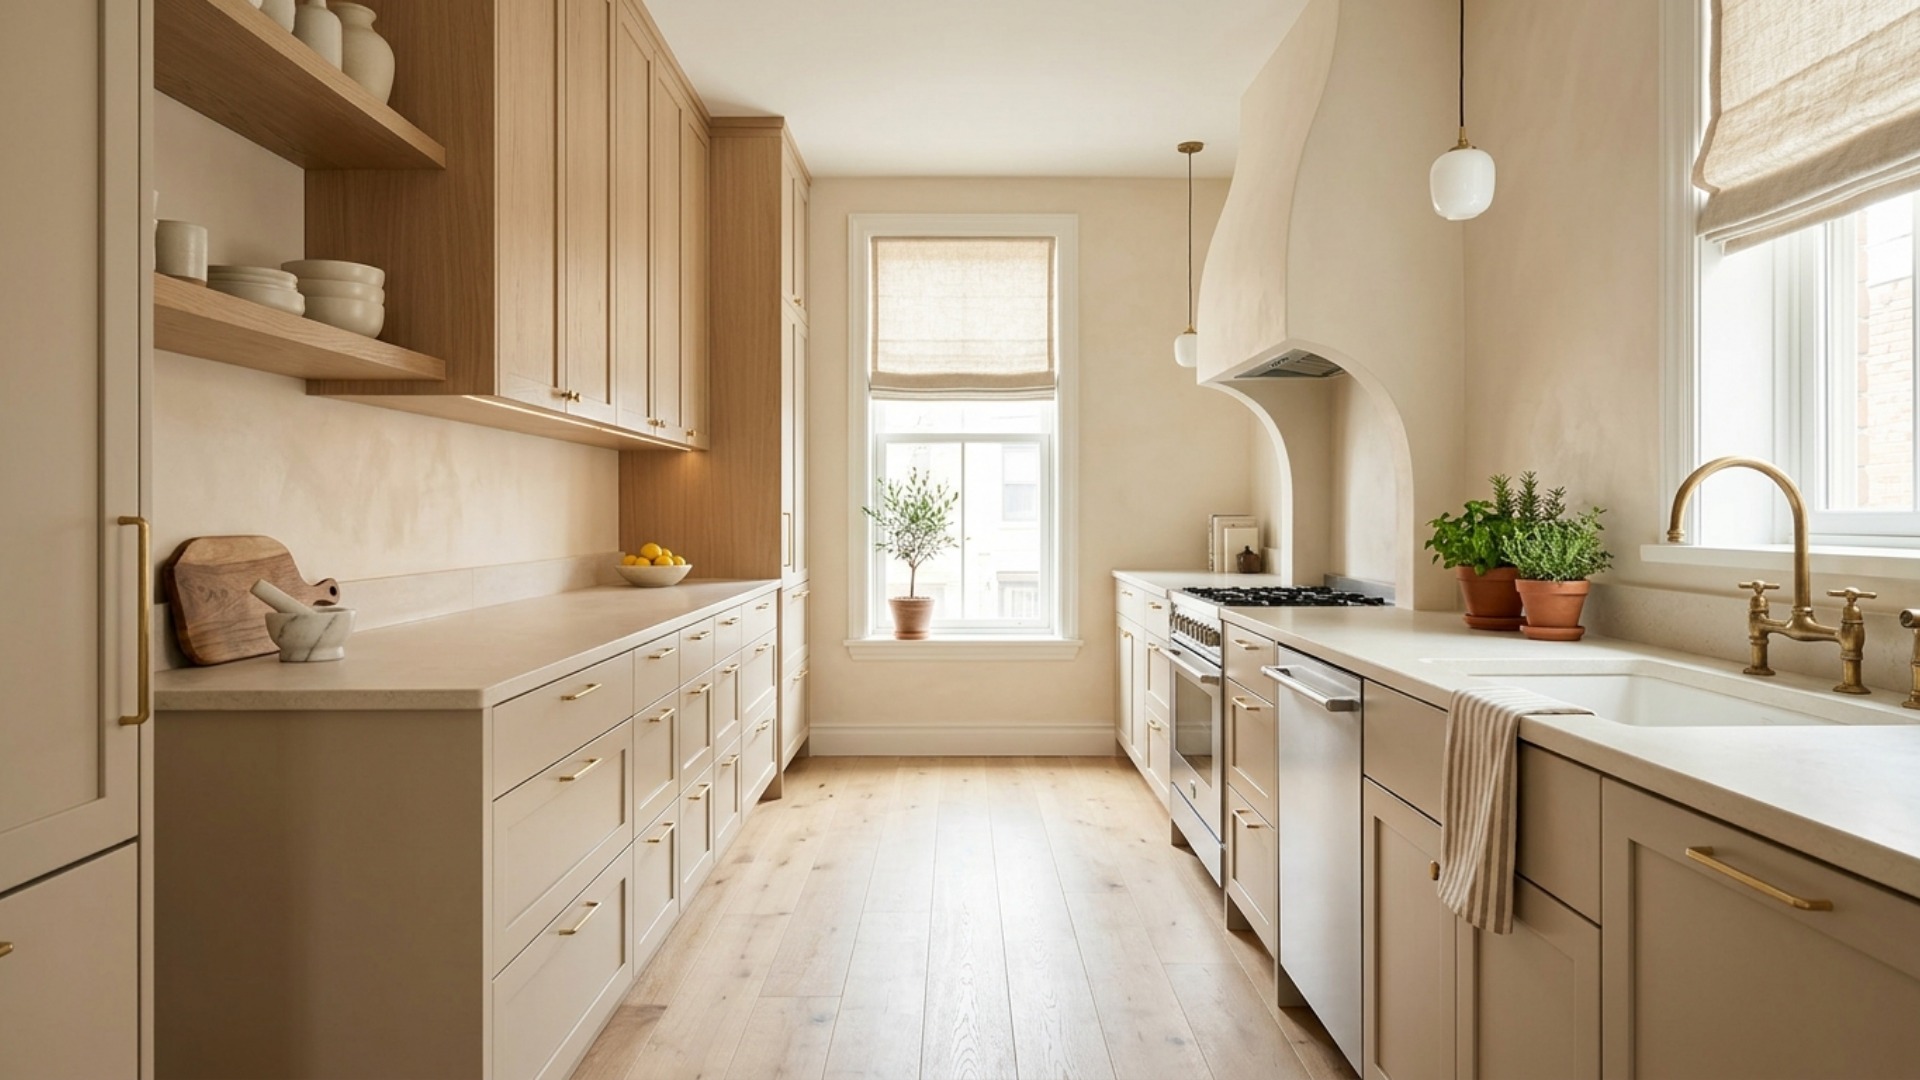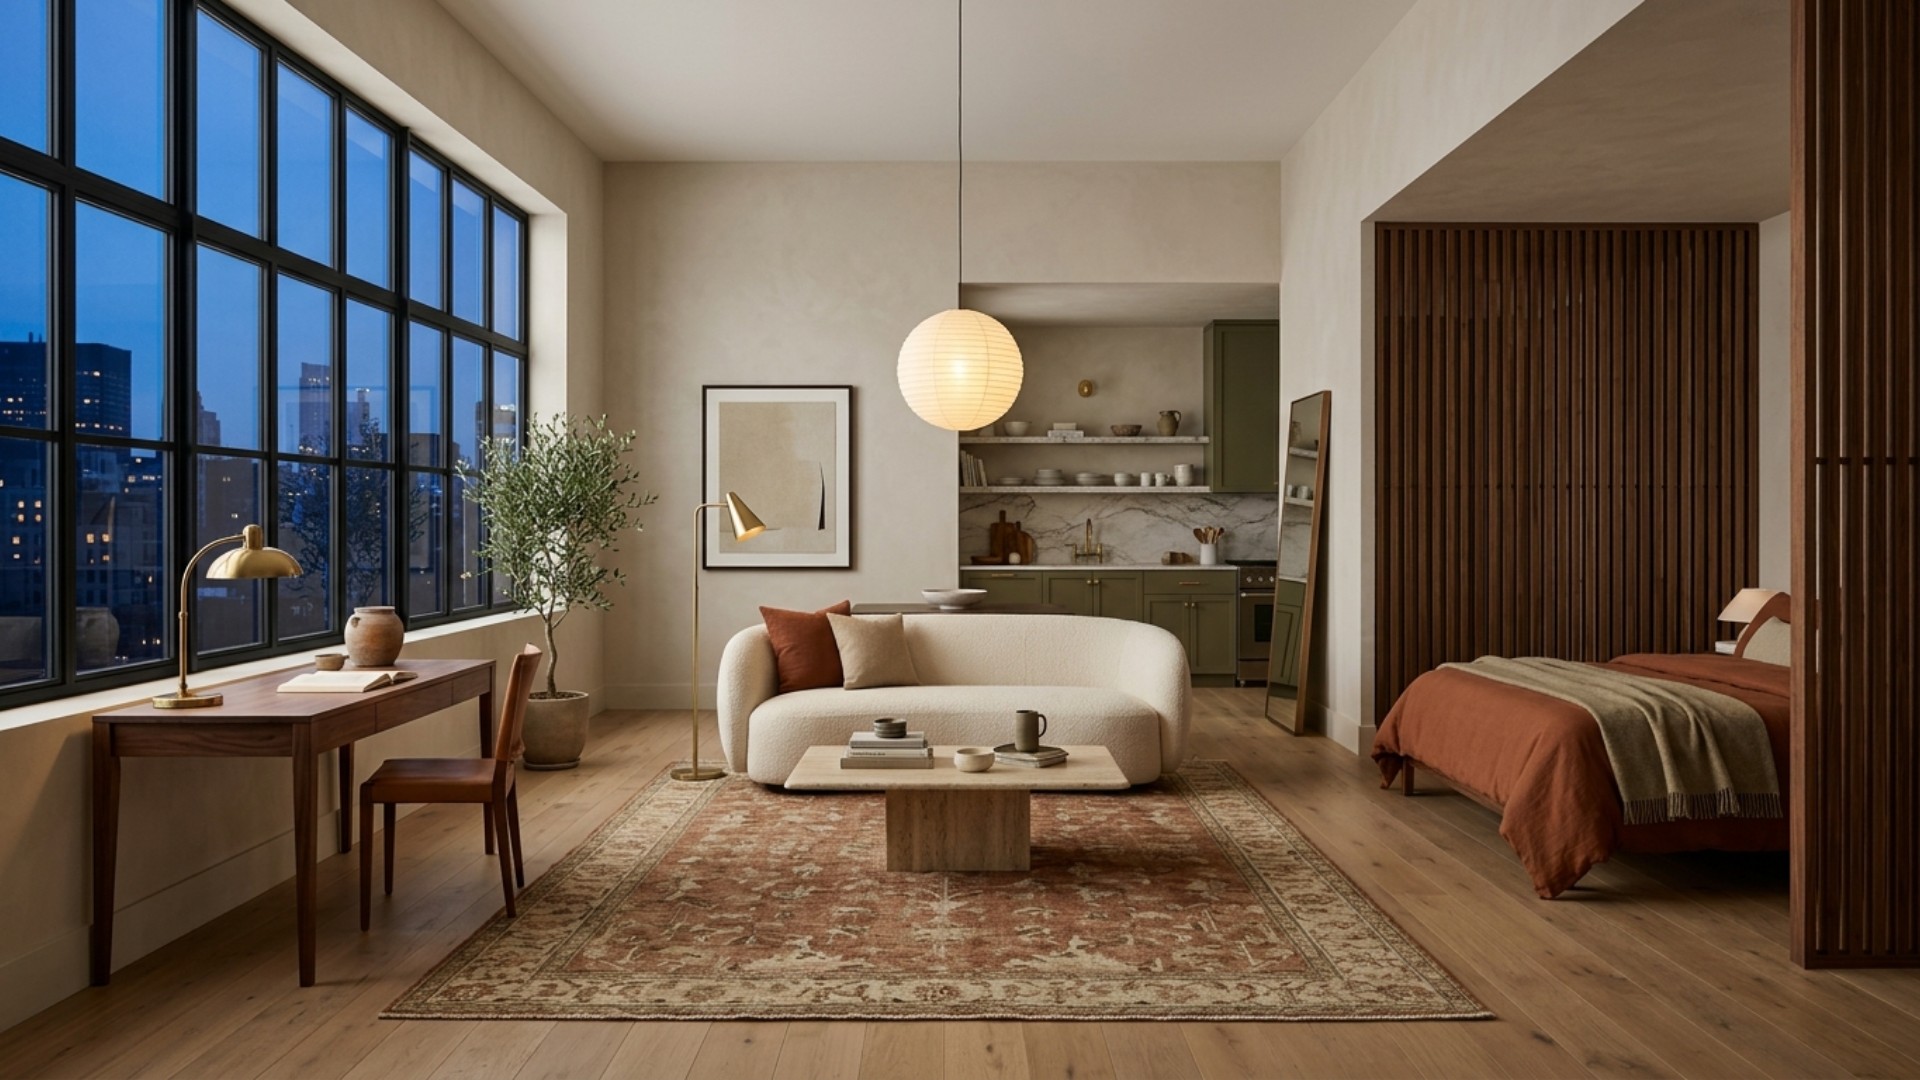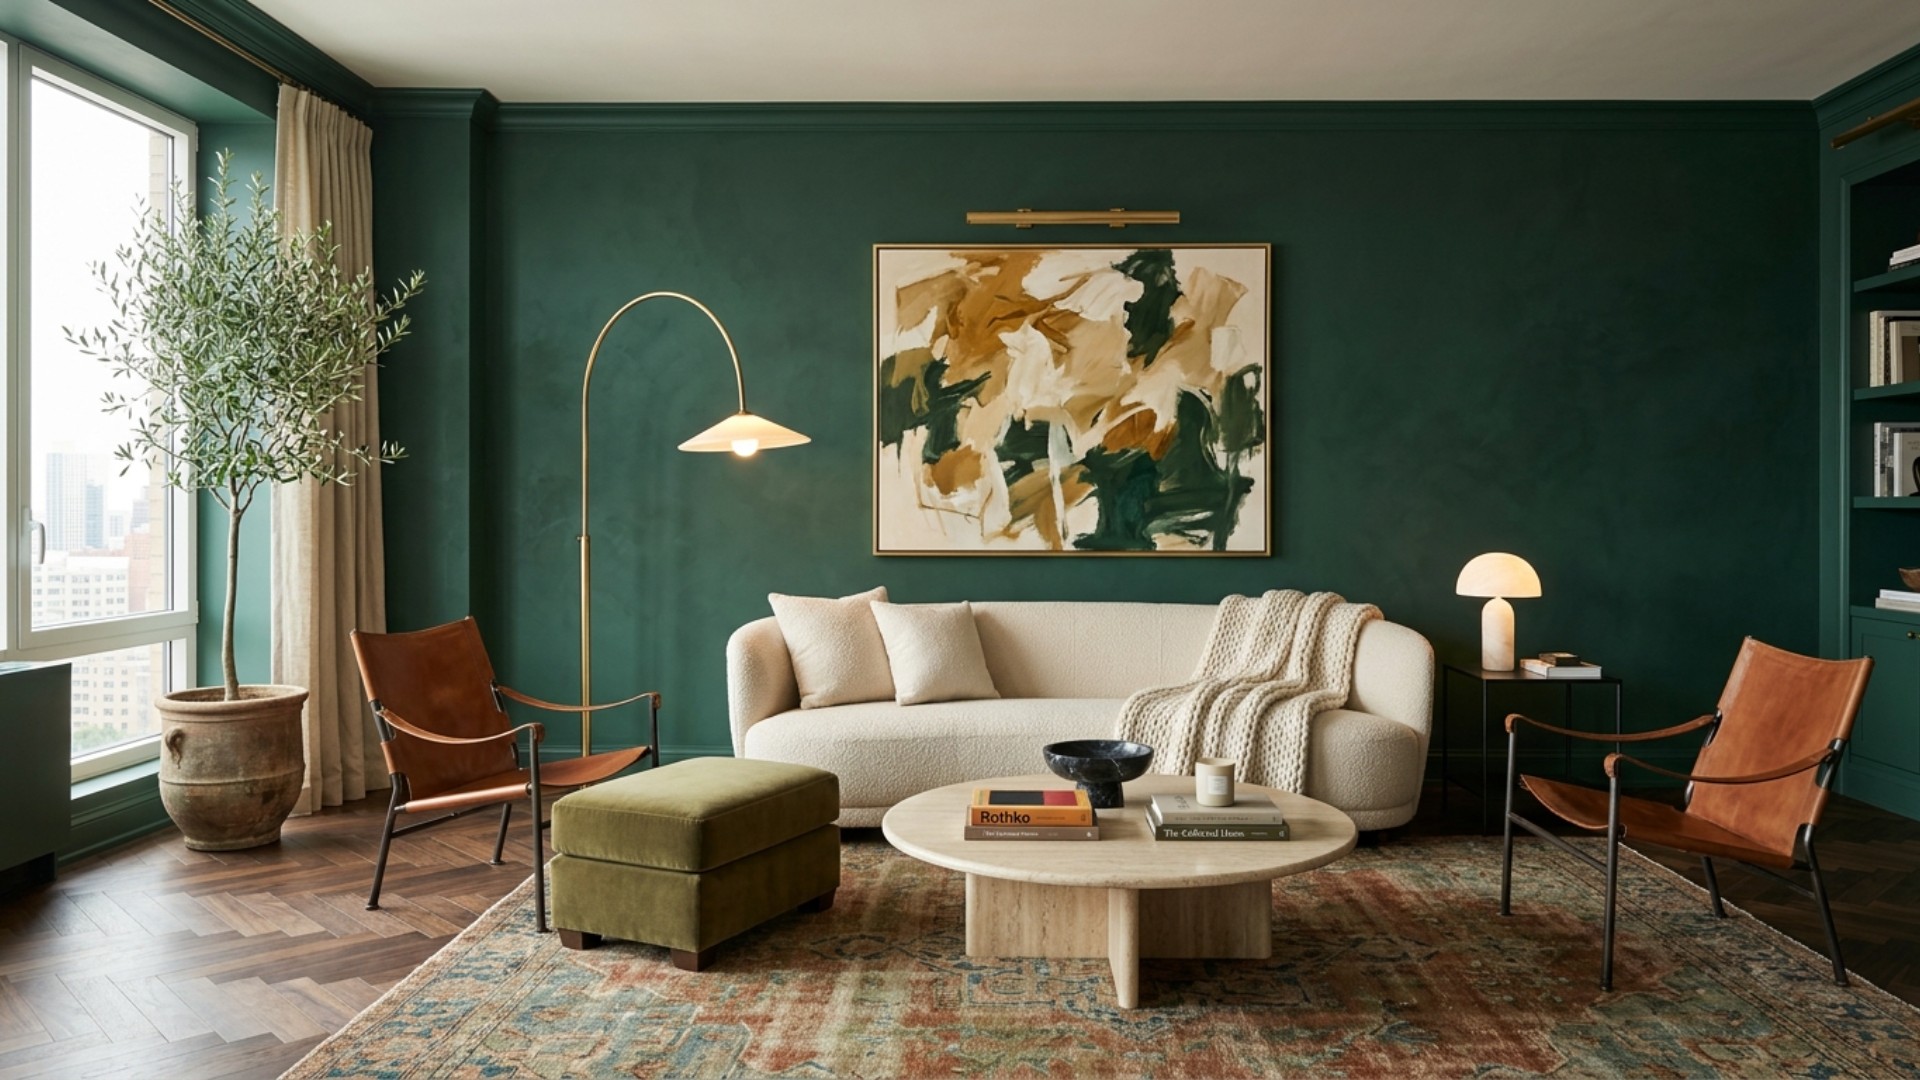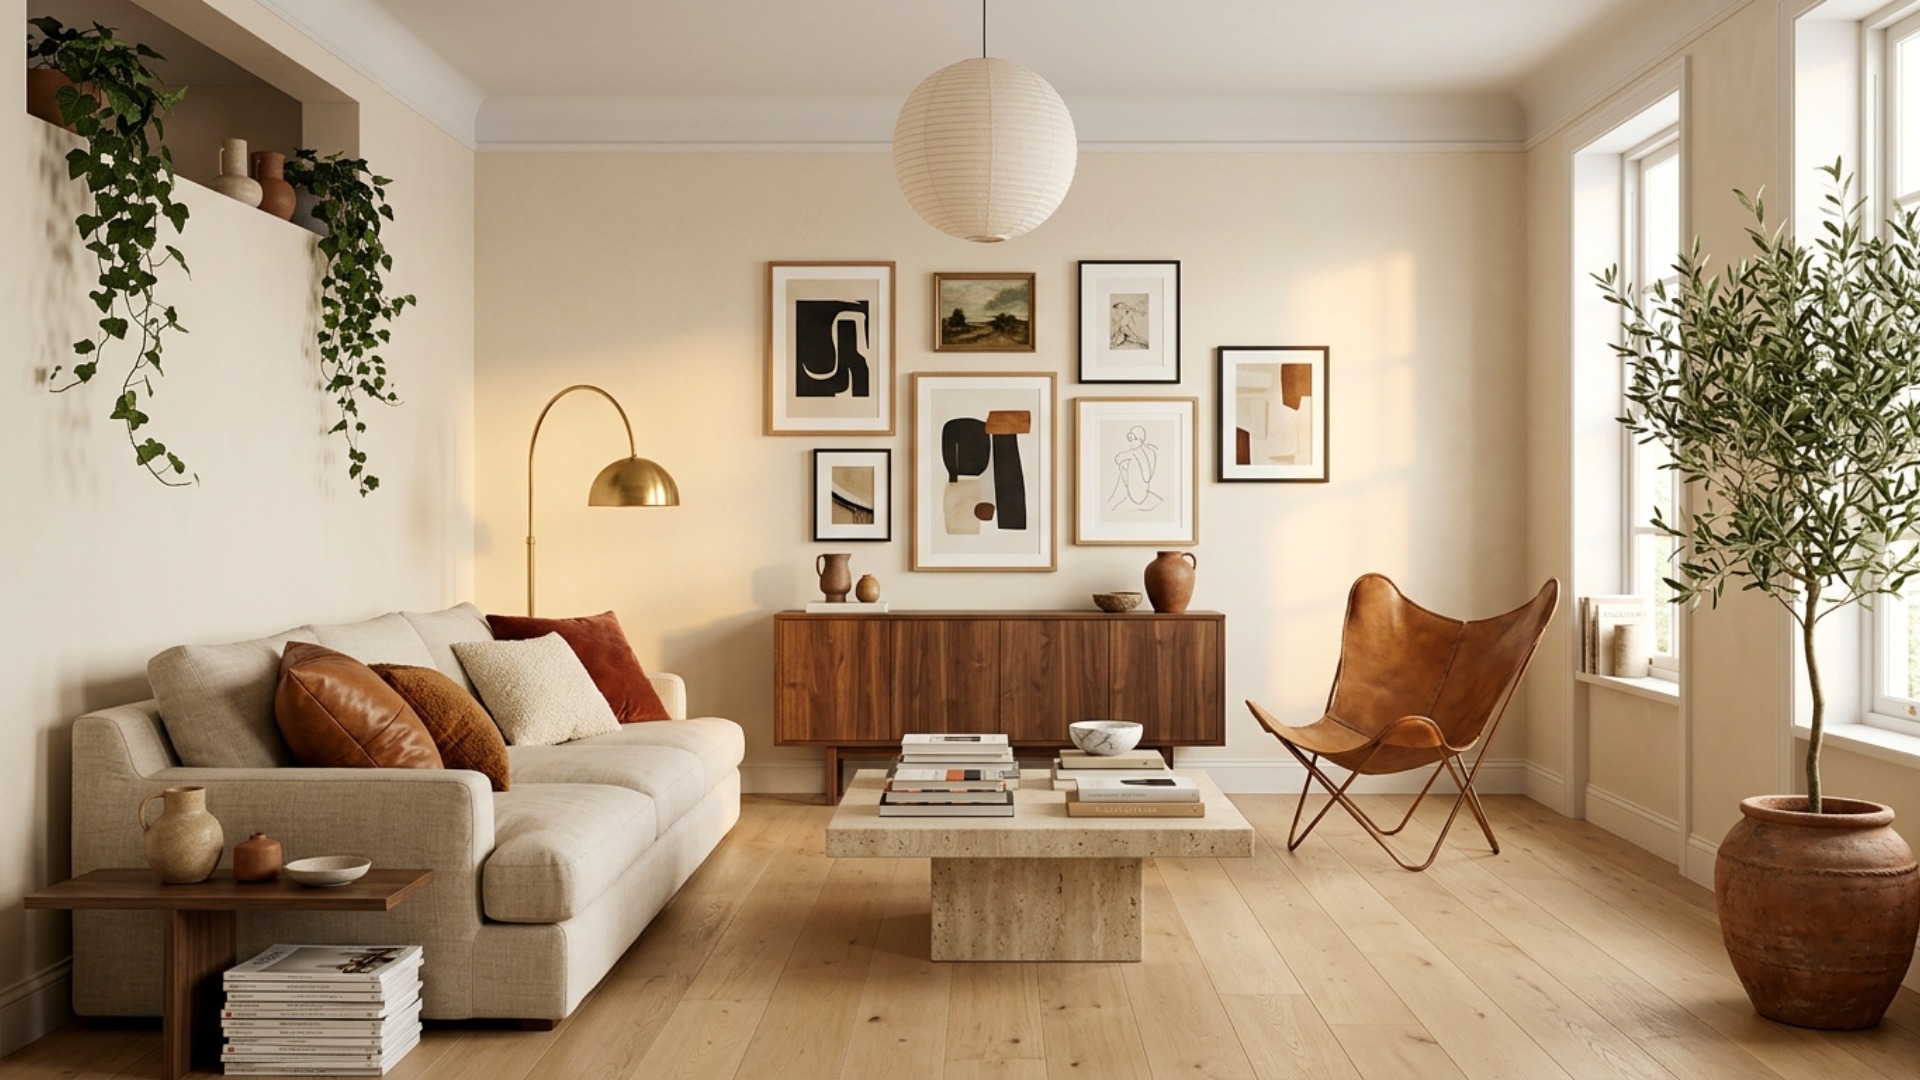
Your Pinterest board is a masterpiece. Forty-seven saved living rooms, each one warm, collected, and quietly expensive. Meanwhile the actual living room, the one with your name on the lease, has not changed since you started pinning. You are in good company: home decor accounts for roughly 23 billion saved pins, which means billions of beautiful rooms living rent-free on boards while the real ones wait politely for instructions.
The problem is not your taste. Your taste is clearly excellent; the board proves it. The problem is that a board is a collection and a room is a decision. This guide closes that gap in four steps: decode what you have saved, extract the rules, audition the look on your actual room, and walk away with a plan you can execute. Vision to reality, no gatekeepers en route.
The Gap: Why the Board Never Becomes the Room
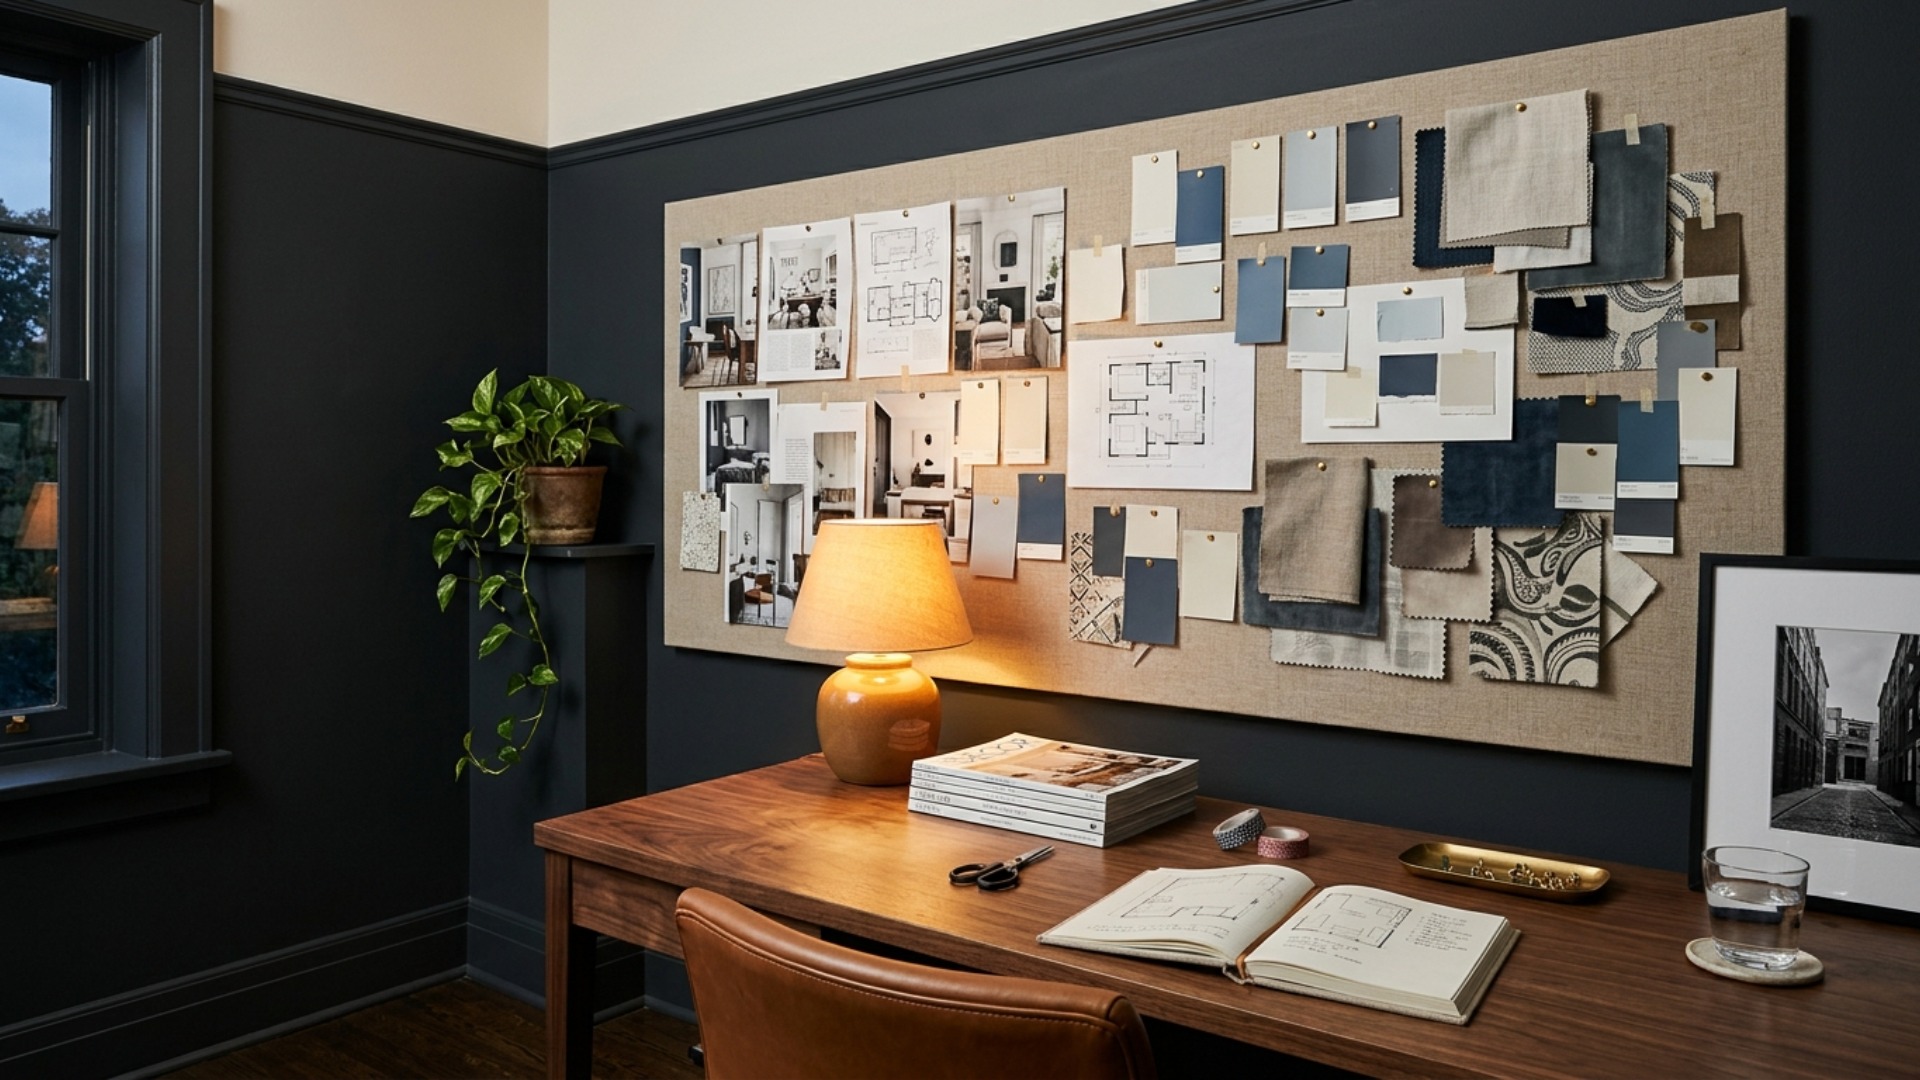
First, a hard truth we have covered before on The Edit: copying a Pinterest room never works. Those rooms were styled for a camera, lit by a professional, and photographed from the one angle that hides the radiator. Your room has different bones, different light, and a door where their fireplace is. Recreating the photo is chasing someone else's afternoon.
Saving is also a different sport from deciding. Pinterest users save around 1.5 billion pins every week, and every save is a tiny, pleasant maybe. A board grows by addition; a room only gets better by subtraction and commitment. Nothing on a board ever has to agree with anything else, which is exactly why it feels so good and changes so little.
So we are not going to copy the board. We are going to interrogate it.
Step 1: Interrogate the Board
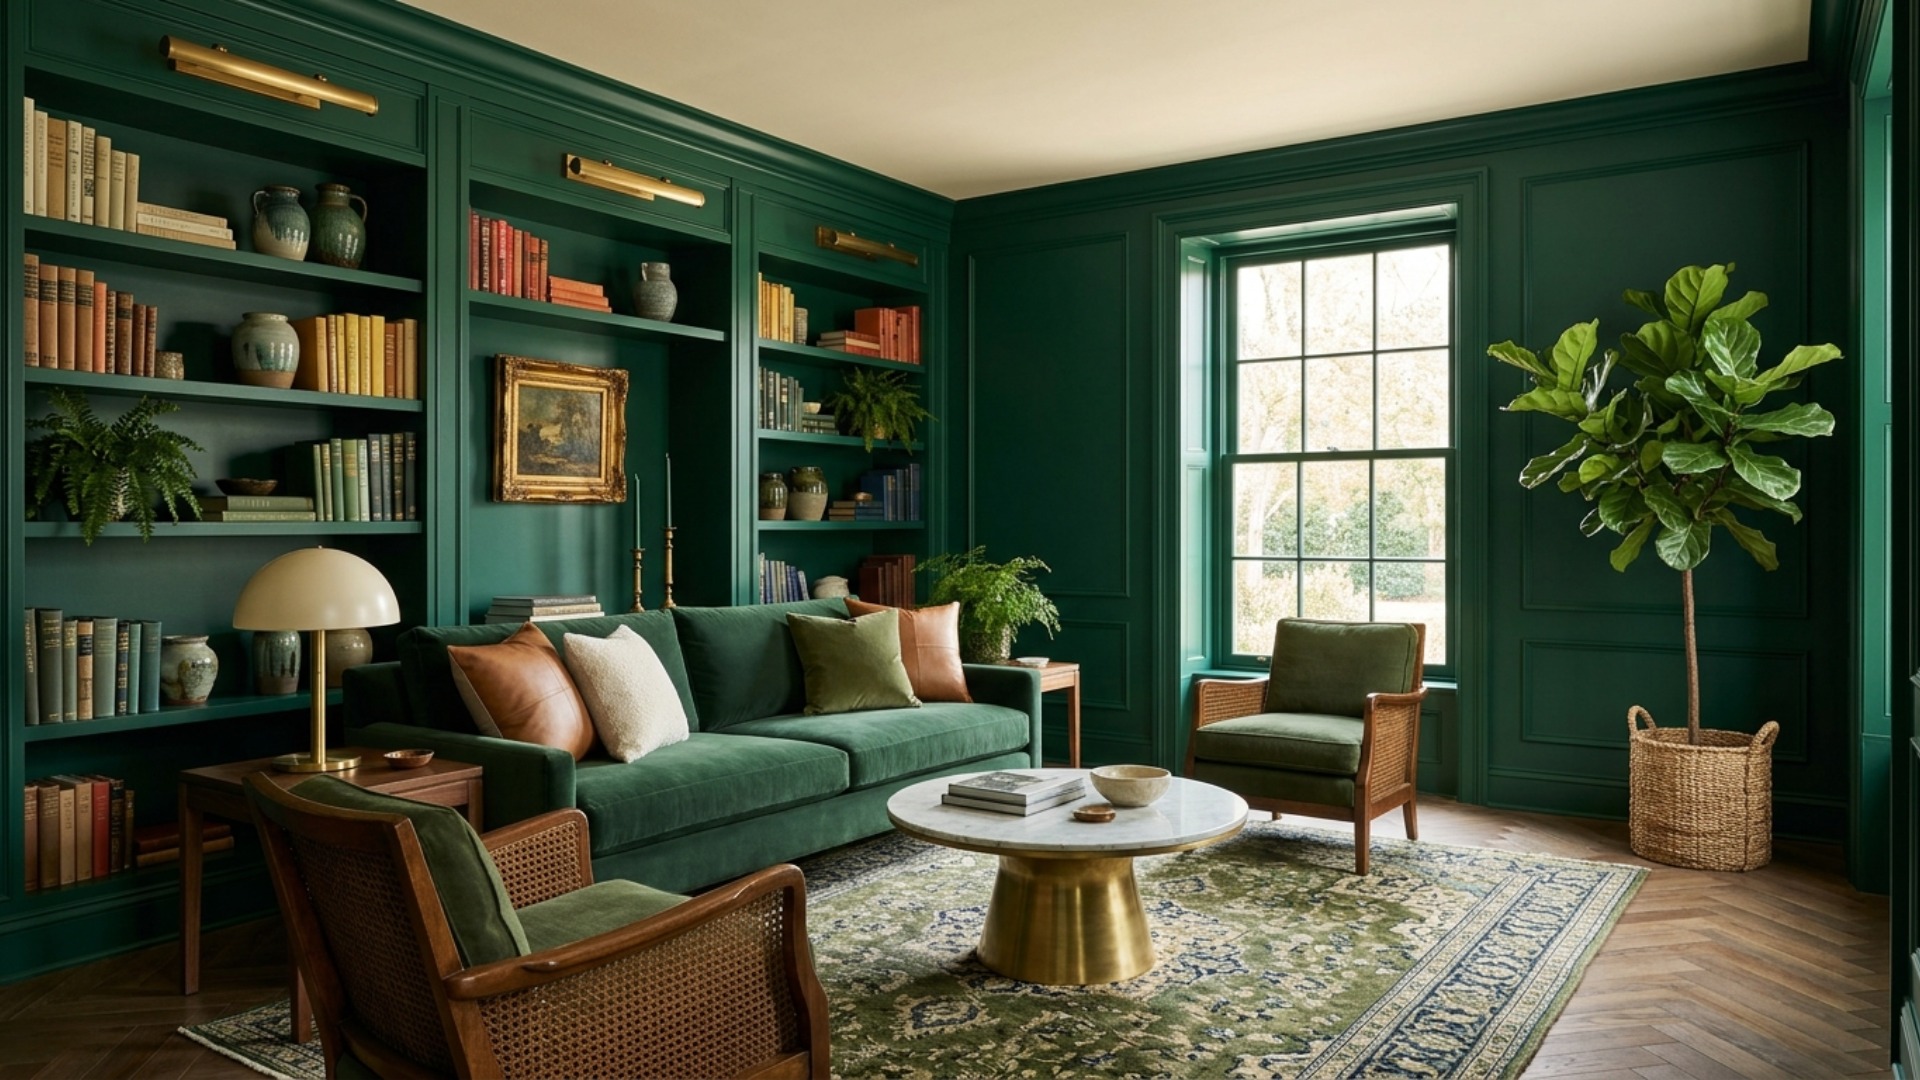
Open your board and switch from admiring to auditing. You are no longer looking at rooms; you are looking for repeat offenders. Scroll the whole thing quickly and note what keeps showing up. Is the palette warm or cool? Are the woods pale or dark? Is the light diffused and airy or low and moody? Are the sofas crisp and tailored or deep and slouchy?
Most people discover something reassuring: about eighty percent of their saves agree with each other. The board you thought was eclectic is actually remarkably consistent, and the ten pins that do not fit are souvenirs from someone you were pretending to be in 2023. Archive them without ceremony.
Write down the three things your board repeats most. Something like: warm woods, green somewhere, lamps instead of overheads. Congratulations, you have just met your actual taste. It was there all along, filed under 47 different rooms.
Step 2: Extract the Rules, Not the Rooms
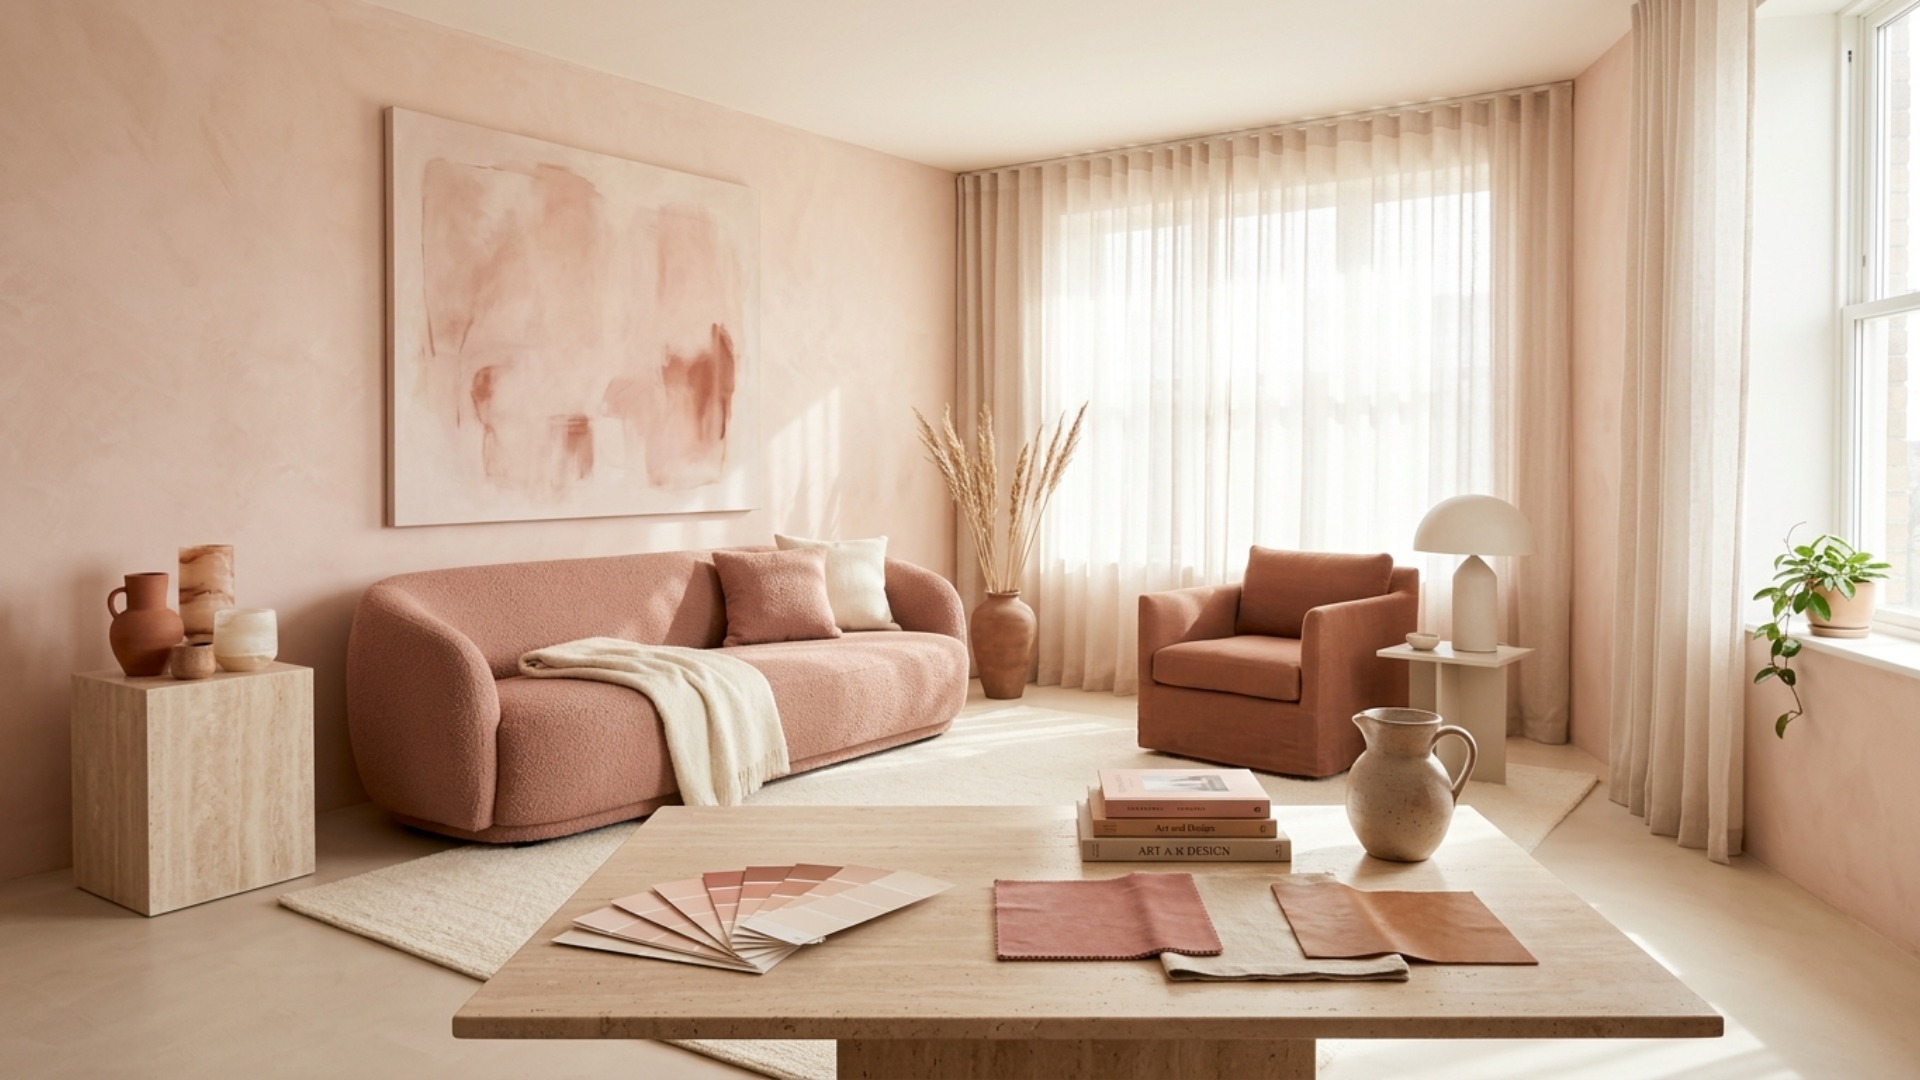
Now turn those repeat offenders into a brief. Not a vibe, a brief: one mood word, a palette of three to five colors, and two or three materials that keep appearing. The classic 60-30-10 balance keeps it honest: about sixty percent of the room in your dominant color, thirty in a secondary, ten for the accent that makes guests ask questions.
Be specific enough to shop from. "Green" is not a rule; "muted sage walls, one emerald velvet moment, aged brass hardware" is. Pull the exact tones from your favorite three pins and put them side by side; the palette that survives all three is the one that belongs to you rather than to an algorithm.
This brief is now the bouncer at the door of your room. Every purchase, every paint chip, every impulse cushion has to get past it. The board inspired the rules; the rules, not the board, build the room.
Step 3: Audition the Look on Your Actual Room
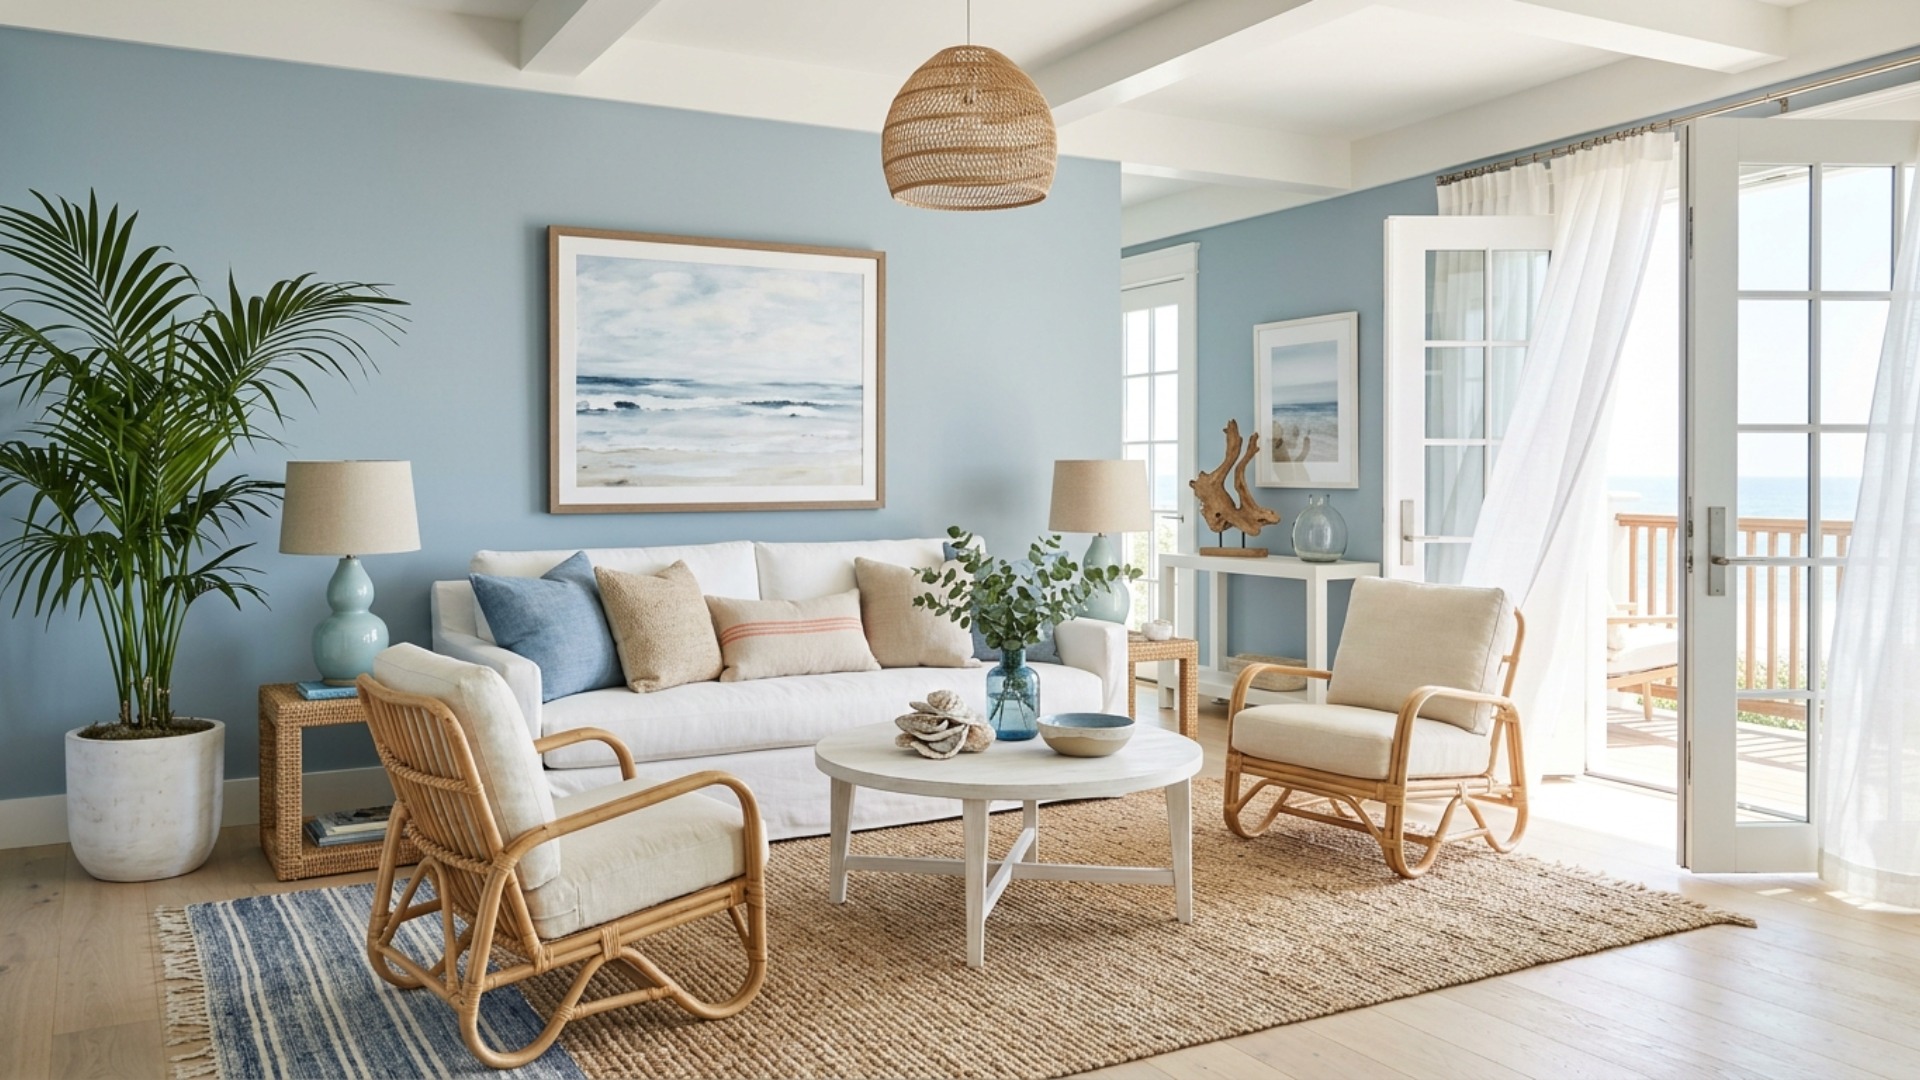
Here is the step that did not exist five years ago, and the one that changes everything for the hesitant. Before you buy a single thing, see the ending. Take one honest photo of your room, upload it to Framehouse, and generate redesigns in the direction your brief describes. Not a stranger's living room wearing your palette: your room, your windows, your awkward corner, transformed.
This is where the moodboard-to-room gap actually closes. If the sage-and-brass direction looks wrong wrapped around your real proportions, you have lost nothing but a minute. If it looks right, and seeing your own space transformed is weirdly persuasive, the hesitation that kept the board theoretical simply runs out of arguments. Generate two or three directions and let your actual room cast the deciding vote.
Creative directors, this is your fast lane too: total control, instant iterations, and no explaining your vision to a third party who was going to soften it anyway.
Step 4: Turn the Picture Into a Plan
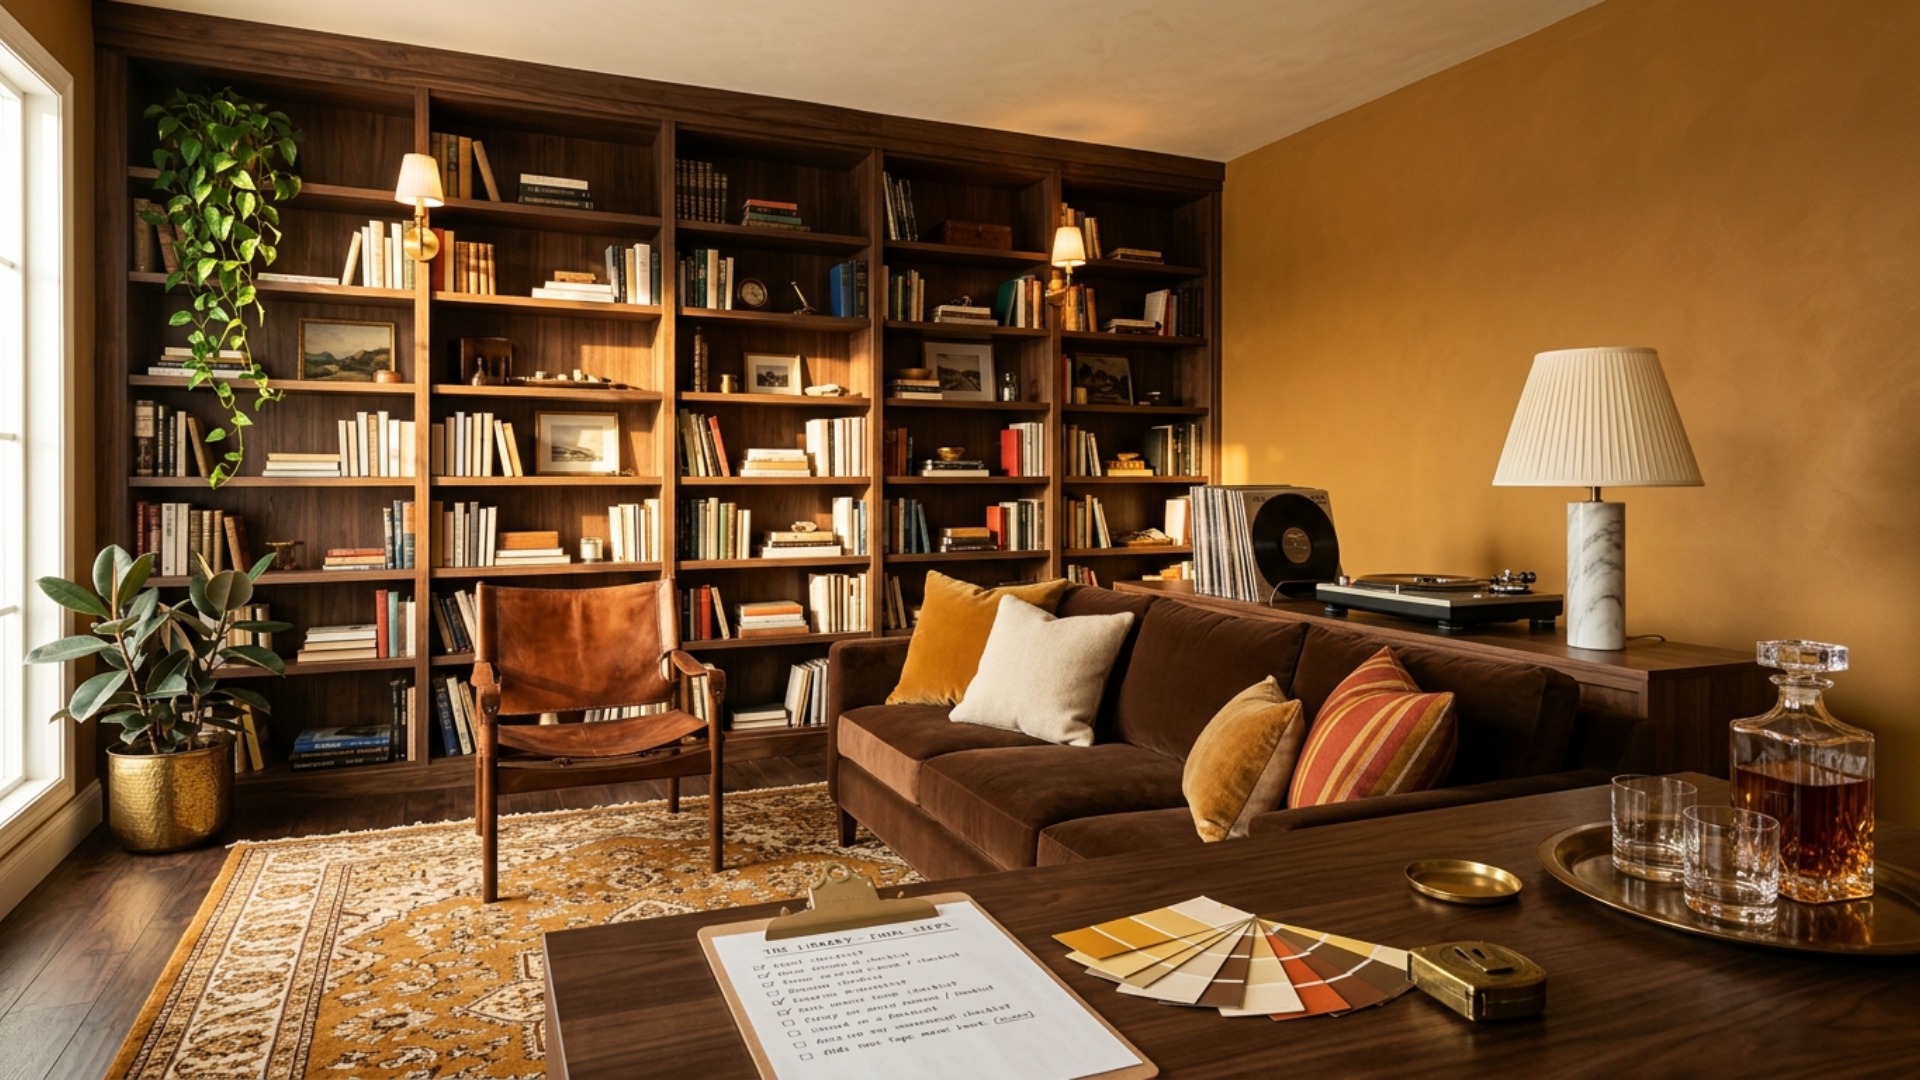
A pretty render can still be a dead end if it arrives without instructions. This is the last gap between vision and reality: what exactly do you buy, in what order, for how much? Work the sequence designers use. Anchors first: paint, rug, and the largest piece of furniture set the palette and the scale. Layers second: lighting, curtains, and textiles. Personality last: art, objects, and the plant that ties the room together.
This is also precisely why we built Framehouse the way we did. Every redesign comes with the complete design playbook: the palette, the layout, the shopping list, everything you need to make the room real, sequenced and budgeted. Other tools hand you a prettier picture. The playbook hands you Saturday morning's to-do list.
So yes, keep pinning; the board is where taste sharpens. Just stop letting it be the finish line. Upload the photo, run the audition, get the plan, and let the next thing you save be a picture of your own room. Free to start, plans from $89.
Turn your board into a plan you can execute. Start free with Framehouse.